Using OAuth 2.0
Our example use of OAuth 2.0 uses an external OAuth 2.0 Authorization Server (AS). It’s also possible to
add an AS using Django’s auth models and the django-oauth-toolkit (DOT).
Get an OAuth 2.0 token
You’ll need to configure Postman for OAuth 2.0.
N.B. The example Client Credentials below may cease
to work some day. If you are not affiliated with Columbia University, consider running your own
OAuth 2.0 provider using DOT, since the auth-columbia scope will not work for you.
Select the Authorization tab, select OAuth 2.0 and click on Get New Access Token:
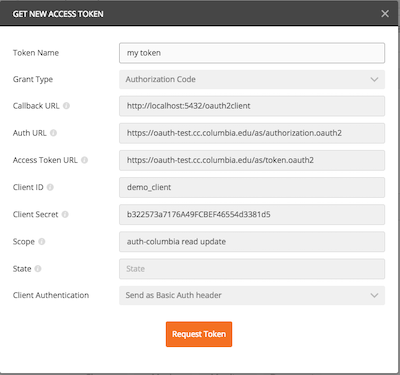 Postman get new access token display
You can cut-n-paste the above from here:
Token Name: *pick a name*
Grant Type: Authorization Code
Callback URL: http://localhost:5432/oauth2client
Auth URL: https://oauth-test.cc.columbia.edu/as/authorization.oauth2
Access Token URL: https://oauth-test.cc.columbia.edu/as/token.oauth2
Client ID: demo_client
Client Secret: b322573a7176A49FCBEF46554d3381d5
Scope: auth-columbia read
Client Authentication: Send as Basic Auth header
and then click Request Token.
You’ll see a Columbia Login screen popup:
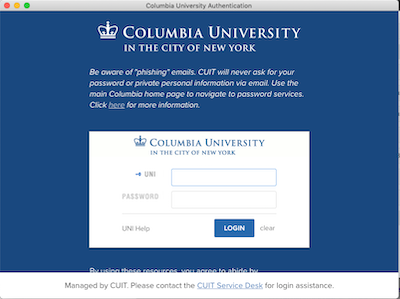 CAS login display
Followed by a multifactor authentication:
 DUO MFA display
You’ll then see a Request for Approval that looks like this:
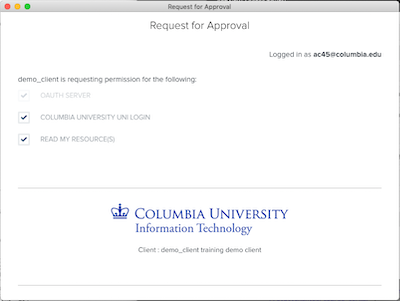 PingFederate approval display
This is an optional user approval popup that is configured as part of registering your client app with the OAuth service. As you can see, the user is allowed to uncheck the scopes, effectively giving your client app less permission than it asked for. You need to scroll it down to click Allow:
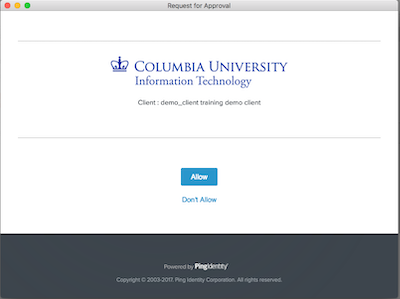 Checking approved scopes
Now you are logged in and have an Access Token which Postman shows you:
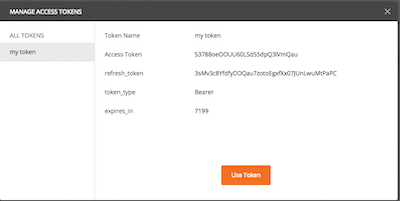 Postman Manage Access Token display
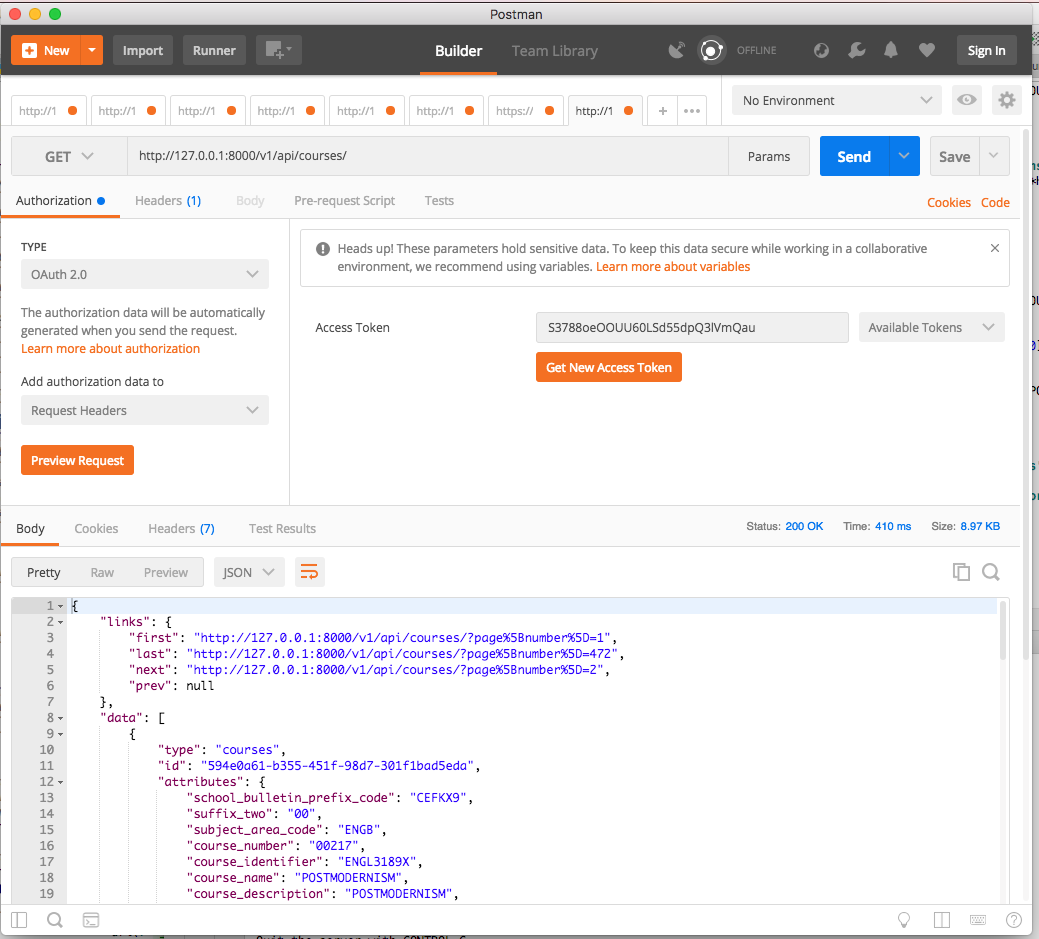
Issue HTTP requests using the token
Click on Use Token and then fill in the URL and do the GET by clicking SEND:
 Postman successful GET display
There’s lots more to Postman, but this should get you started. You’ll
want to explore selecting different methods (GET, POST, PATCH, DELETE),
understanding which scopes are required for those methods (see
views.py), and perhaps adding the Accept or Content-Type headers to
contain application/vnd.api+json.
If you don’t set an appropriate header you’ll sometimes see an error like this:
{
  "errors": [
    {
      "detail": "Could not satisfy the request Accept header.",
      "source": {
        "pointer": "/data"
      },
      "status": "406"
    }
  ]
}